by admin | Dec 11, 2014 | Categories
We love this classic Christmas story. The book is beautiful, the movie enchanting. Little bitty ones may not get the message or have the patience to sit through the entire book or movie, but it’s still a fun theme for all ages.
We threw this party together in just a couple hours for a few toddlers and their parents. It was super easy and lots of fun.
Two big tips when planning a party for toddlers: Be flexible and keep it simple. The kids ranged in age from 16 months to 4 years old. If they didn’t like the cocoa, or didn’t want to watch the movie, or didn’t want to make the craft that was ok. We had toys and books out for them to play with and explore. And we had plenty to eat and drink for the adults.
Polar Express Party Ingredients:
- The Polar Express by Chris Van Allsburg (book or movie)
- Pajamas
- Cocoa
- Bells
- Christmas treats
- Toys
- A simple Christmas craft
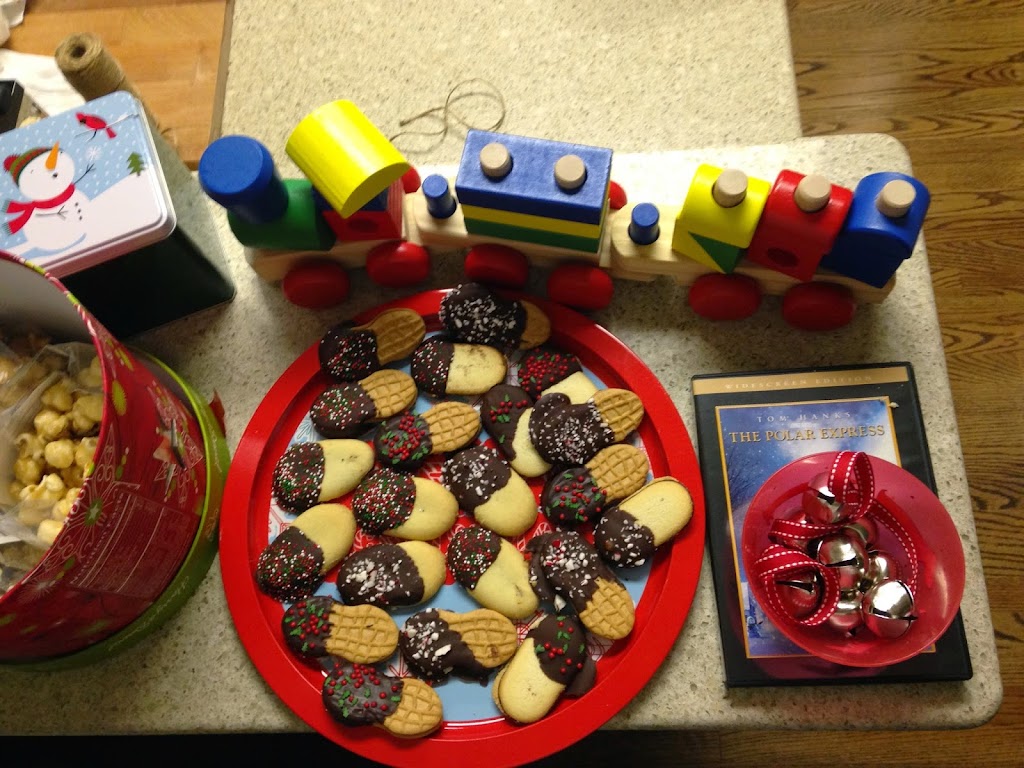
Christmas treats: Moose Munch and cookies (Nutter Butters and Milanos) dipped in chocolate with red and green sprinkles. Plus, each child got a bell to take home, just like the boy in the story.
If you do chocolate covered treats do toddlers have lots of wet wipes on hand!
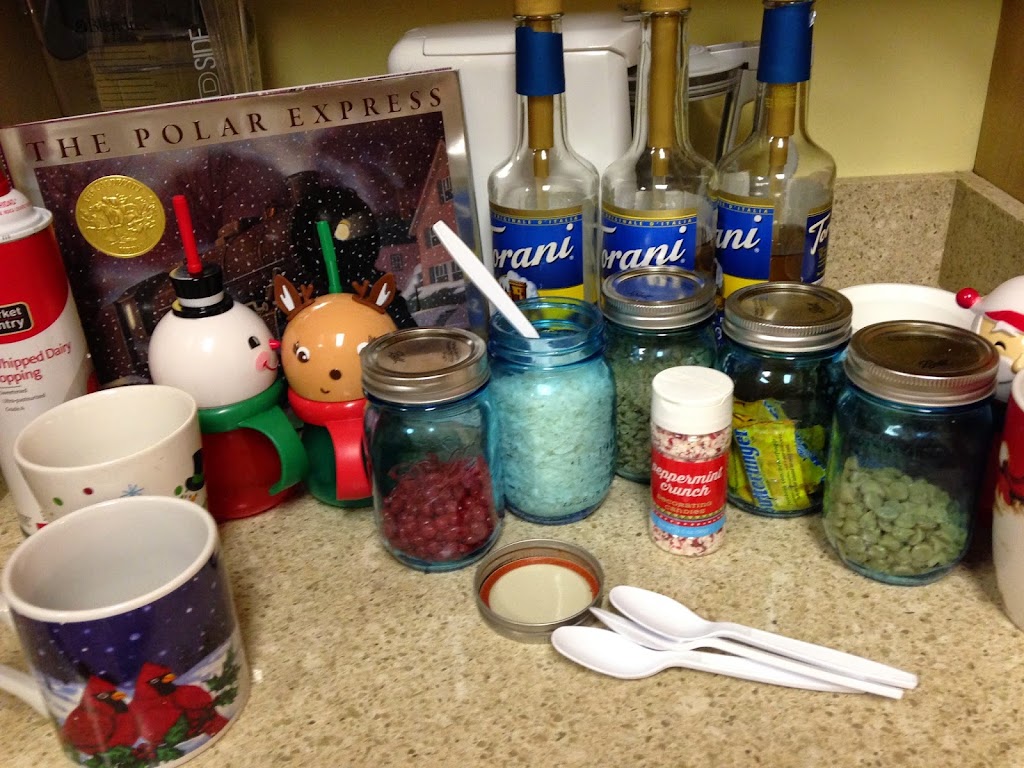
The Cocoa Bar: whipped cream, peanut butter chips, Butterfingers, crushed candy canes, coconut, crushed toffee and of course hot cocoa.
For the youngest ones we let the cocoa cool down and added more milk. You could also do warmed up chocolate milk. We used unbreakable Christmas cups with straws for them as well.
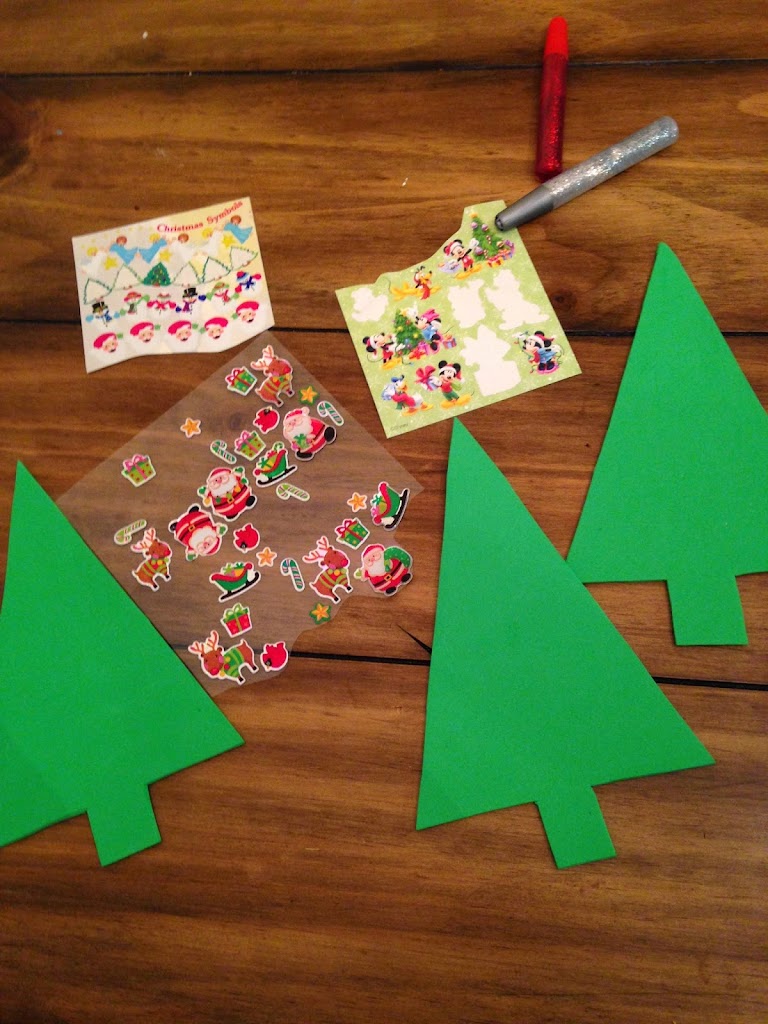
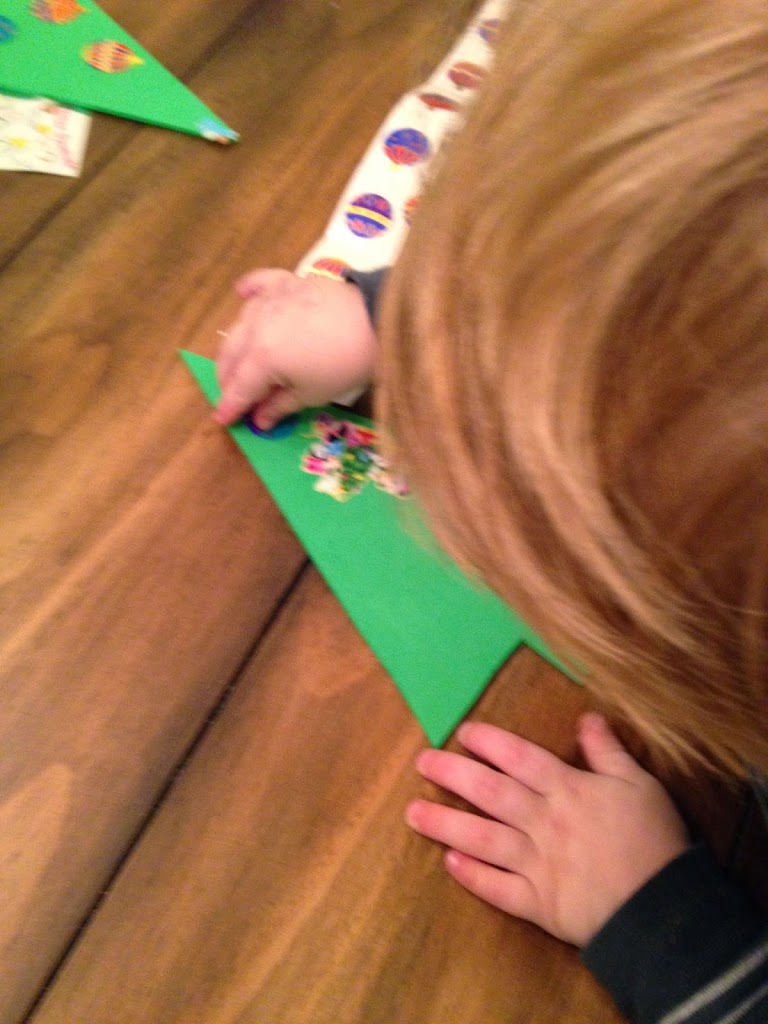
Our Simple Craft: Trees cut out of fun foam and stickers. We also had glitter glue for the older kids and parents to add sparkle.
What a fun night! The kids played a lot and watched only bits and pieces of the movie, but they’ll have plenty of opportunity to watch the movie and read the book with deeper understanding in the years to come. The Christmas trees came out super cute and will be fun reminders of these precious years. Only the oldest child liked the cocoa, but the littlest ones couldn’t care less about that.
by admin | Dec 11, 2014 | Categories
Teaching Positive Thinking (and Reading)
Positive Posters Print all 13 posters here.
I made these posters to teach positive thinking and stop all the whining and complaining. Reading the posters, talking about what they meant and practicing the ideals behind them helped the attitude of the entire class. I loved hearing them say these encouraging words to each other and to themselves when they were struggling.
AND it had an added bonus: After a couple of days, the kids were reading the posters!
I would hang one poster up for an entire week. We read it together on Monday and talked about what it meant. Then we’d go over it every time we sat down for a story, or class meeting. By the end of the week many of the kids could read it on their own. When I got through all 13 posters I started over again. By the end of the year most of kids could read all the posters and their attitudes improved tremendously.
by admin | Dec 8, 2014 | Categories
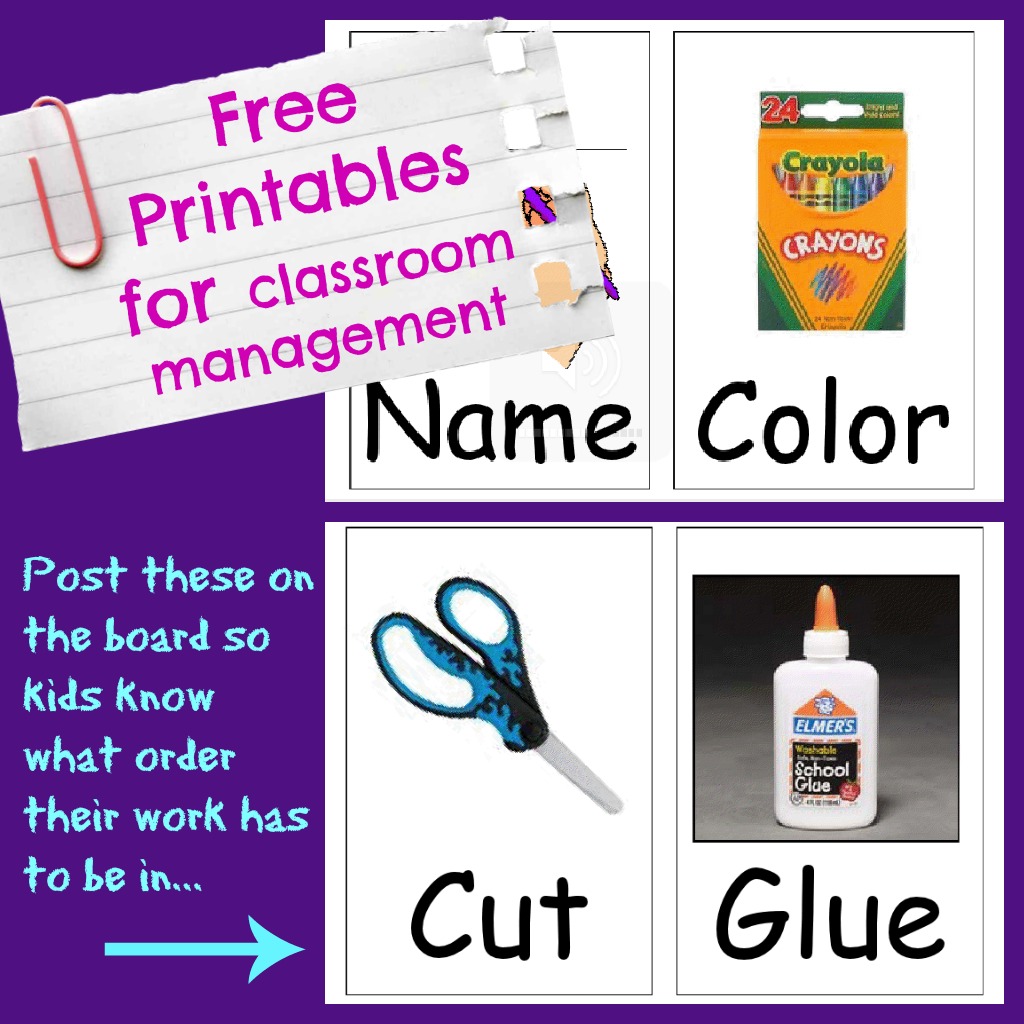
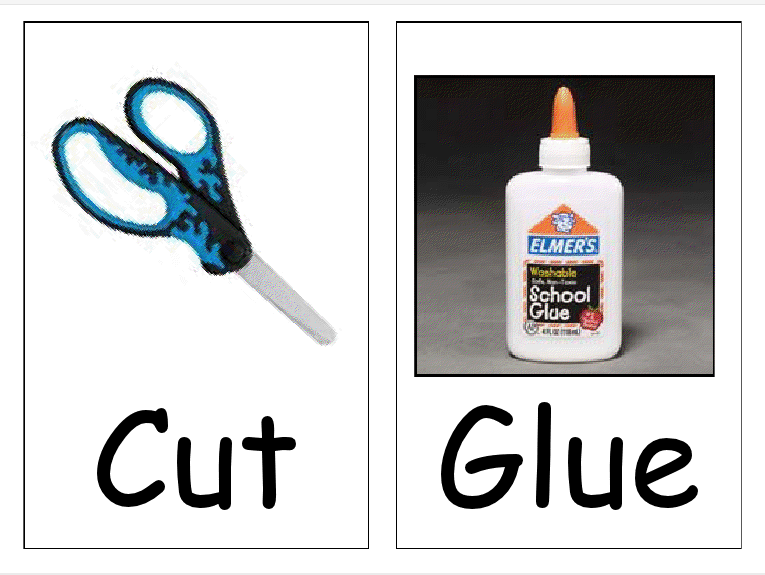
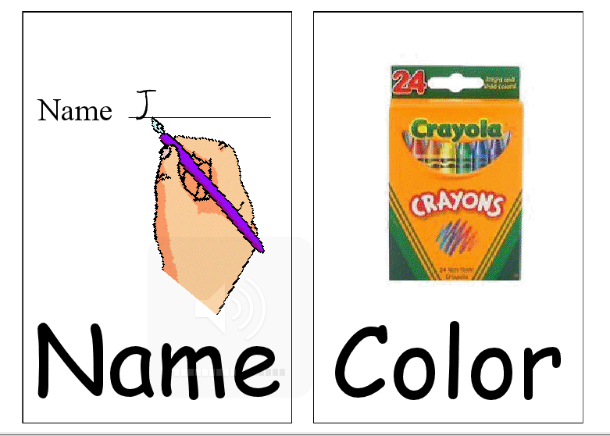
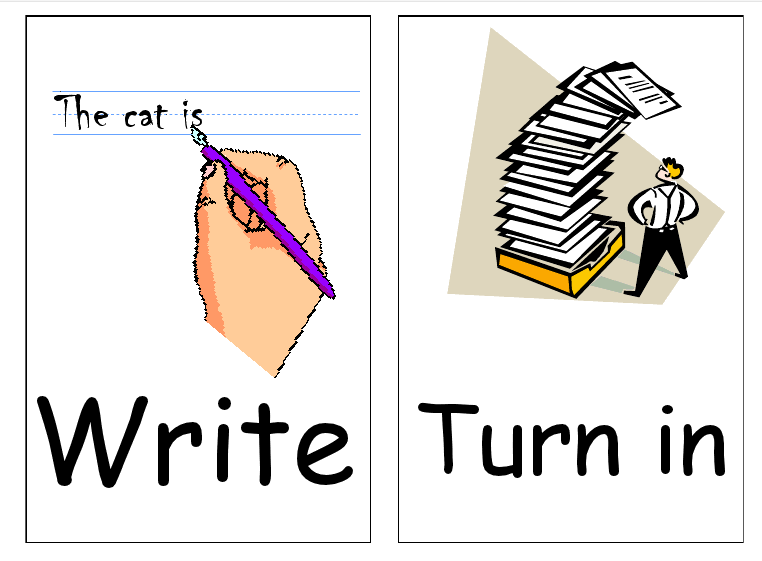
Visuals to help children know how to complete their work. Especially helpful for those little ones that always want to cut first!
Use these signs to let the kids know what order their assignments should be done in.
Cut them apart, laminate and post whichever ones you need when you need them.


Print all SIX Order Signs here.
by admin | Nov 20, 2014 | Categories
The Muppets
Visit The Muppets channel on YouTube for more Muppet Christmas videos.
Santa Songs:
Santa Clause is coming to town with lyrics.
Rudolph the Red-Nosed Reindeer with lyrics.
You’re a Mean One Mr. Grinch with lyrics.
You’re a Mean One Mr. Grinch without lyrics.
by admin | Nov 6, 2014 | Categories
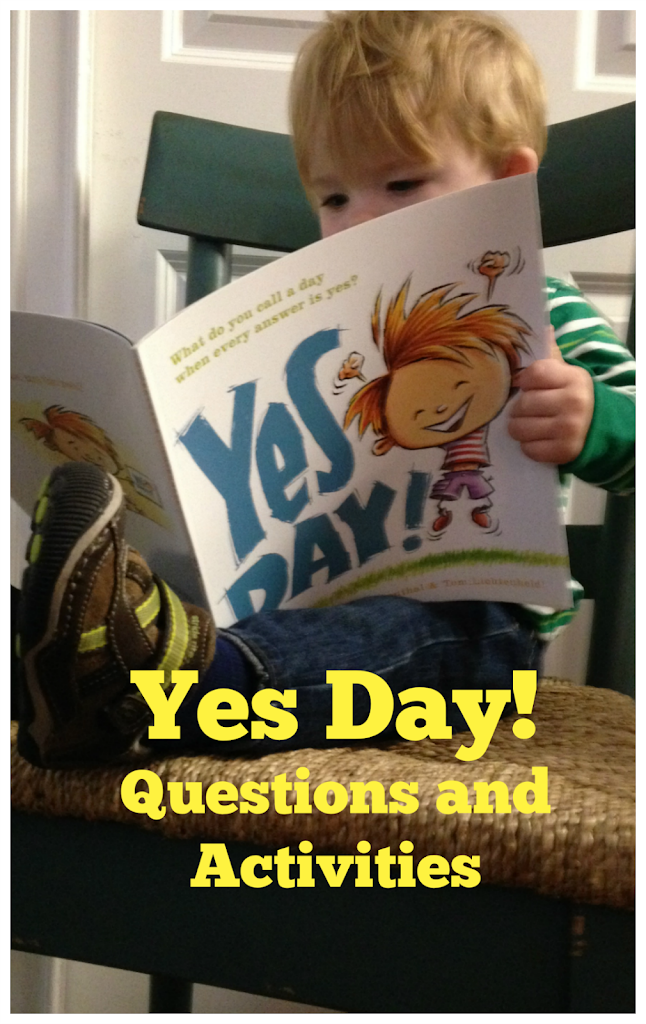
Questions and activities to go with the book, Yes Day by Amy Krouse Rosenthal
Questions:
Before reading the book:
What do you think this books going to be about?
Look at the boy on the cover. How does he feel? Why do you think he’s so happy?
After Reading:
Is Yes Day a good idea?
Why would it be a bad idea?
Why do you think the parents gave this boy a Yes Day? (explore the end pages with the children for all the ways grown ups say “No.”)
Is pizza for breakfast a bad idea?
Is a food fight a bad idea?
Where would be a good place to have a food fight? Where would be a bad place? How could you make sure no one gets hurt during a food fight?
What would you ask for on Yes Day?
What should the grown ups always say “No” to?
Activities:
- Make a class list of Yes Day requests.
- Make a T-Chart of Yes Day requests, some that would be appropriate and some that wouldn’t be.
- Role-play various Yes Day scenarios. Discuss the good and bad that might happen with each request. What would happen if the kids asked for…
- No chairs in the classroom
- No teacher
- A kid to be the teacher for the day
- Recess all day
- Do all the writing in markers
- Pour the glue all over the table
by admin | Nov 6, 2014 | Categories
The one and only rule for teaching your child their name is to always, always write it correctly. That’s means the first letter is capitalized, the rest of the letters are lower case.
Writing and learning in all caps may seem easier at first–but it’s incorrect and they will have to unlearn it when they begin school. The books your child will be learning to read will not be written in all caps. If they can’t recognize lower case letters they will struggle when they start school.
However, it’s also important for them to be able to recognize their name in multiple forms, including all caps, all lowercase, cursive, and in a variety of fonts.
*Do not worry if your young child is making letters backwards or upside down. These are developmental skills that almost all kids struggle with at the beginning. It only becomes a concern at about 2nd or 3rd grade if they’re still flipping letters and numbers.
Build a Connection to Their Name
- Practice spelling their name out loud.
- Sing the letters of their name. I sing the letters in my son’s name to tune from Mickey Mouse Clubhouse. It doesn’t fit exactly but it’s close.
- Practice how to respond when someone calls their name. For example: look at the speaker, answer with,”Yes” or “Yes, ma’am.”
- Point out their name wherever you see it. Whether it’s a character in a book, or someplace in the house you’ve had to write it down.
- Get your child to recognize their name in various forms–typed, handwritten, painted, etc.
- Count the letters in their name. Make sure they know the name of each letter.
- Do the same with their last name once they’
Create their name using:
- Pipe cleaners
- Finger paint
- Beads or beans
- Craft feathers
- Dry erase marker–on white board, mirror, refrigerator, tiles, windows, etc.
- Make a homemade name puzzle like this one from Happy Hooligans.
- Paint it with water on the sidewalk.
- Write it in bubble letters with sidewalk chalk outside, and let them color in the letters.
- Paint or write the letters of your child’s name on flat stones. Kids can rearrange the stones to spell their name.
- Using wooden letters (like these from Melissa and Doug) press the letters of your child’s name into play-doh or clay.
- Help your child make their name in M&Ms, cereal, Reese’s Pieces, etc. Then eat it!
- If your child is into cars or blocks, use those toys to “write” the letters of their name.
- Write your child’s name with marker and let them paint over it with a paint brush and water.
- Write your child’s name with pen and let them cover the letters with stickers. You can do this in giant letters on poster board or just with paper and normal size letters.
- Write their name with highlighter and let them trace it with pencil or pen.
Glue Writing
Write your child’s name with glue then let them decorate it with:
- Sequins
- Yarn
- Pom-poms
- Seeds
- Sand
- Glitter
- Torn up paper
- Rice
- Noodles
Spell Their Name With:
- Alphabits
- Magnetic or felt letters
- Play-doh
- Letter buttons
- Alphabet pasta
Websites